RSS Feed

Posts Tagged ‘crispy’

  1. I’m back… with Vegetable Crisps (chips)

    March 6, 2012 by Tali

    It feels like I’ve not blogged in a VERY long time. Because, well… I’ve not.

    I got very sick at the beginning of last week which left me bed-bound for a few days and then I found myself struggling to get back into the swing of things.

    It was particularly frustrating as I was only 1 week into my 4 week 100% Primal challenge. I had been eating so well and I got sick! How cruel!

    Trying to keep to Primal guidelines while in bed and unable to physically move is tough. Particularly when your parents don’t fully appreciate or comprehend what eating Primal actually entails… I managed… somehow. Thankfully Mo came over and made me some chicken soup on Wednesday evening and (as chicken soup is known for doing so) I found I had made a miraculous recovery upon waking Thursday morning. I felt like a completely different person!

    But this overly long break from blogging and the real world left me feeling somewhat lost and unsure of where to pick myself up again. Mo suggested we spend the weekend immersed in cooking and trying out recipes we’d been gawking over for a while.

    A brilliant idea in theory!

    In practice, it left me with an over-whelming number of items I wanted to blog about and share with all of you.

    This is:
    a) a little daunting
    b) giving me a back-log of items I need to photograph
    c) delicious!

    The photographic element to this blog is really important to me. In my opinion, great food porn photos can really make a website. I personally take pleasure in drooling over other peoples’ excellent food photography, and so that is something I strive to achieve. It’s all a little new to me, and so setting up my shots takes time, and I’m often very restricted by the time of day and particularly the amount of natural light in my house.

    By the end of the weekend I had 6 or 7 recipes I wanted to share with you all.

    Crazy – I know!

    I’m going to split these all up over a few days, for my own sanity and also – to (hopefully) keep you coming back for more!

    Let’s start off with vegetable crisps – or chips as you Americans and South Africans like to call them!

    I feel I should mention I’m not a massive fan of the potato chip. I might have one or two if they were in a bowl at a party – but I never specifically go for them, I’m more of a sweet-snack kinda gal.

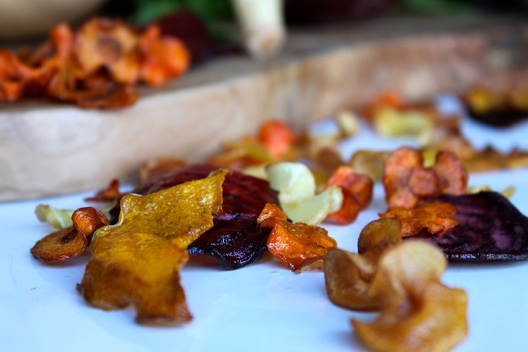
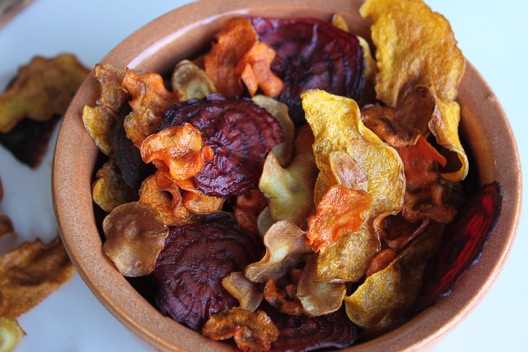
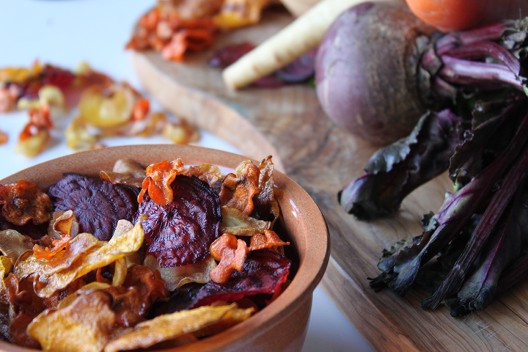
    Root vegetable chips on the other hand… well, that is a different story! These are always a welcome, albeit rare, treat, not widely available and pretty pricey when they are. What could be more exciting than crisps/chips in a gorgeous array of colours, made from delicious vegetables such as beetroot, carrots, parsnips and sweet potato!?

    Mo and I decided we wanted to make our own! We actually attempted a batch of parsnip crisps at his place a while ago, and they didn’t turn out exactly as planned…

    So this was our second attempt – which also involved some other veggies.

    First we had to buy a mandoline. You’ll need one of these in order to get those nice super thin and even slices.

    We then set to work making the chips/crisps.

    Vegetable Crisps

    Makes: lots  Time: 1hr plus

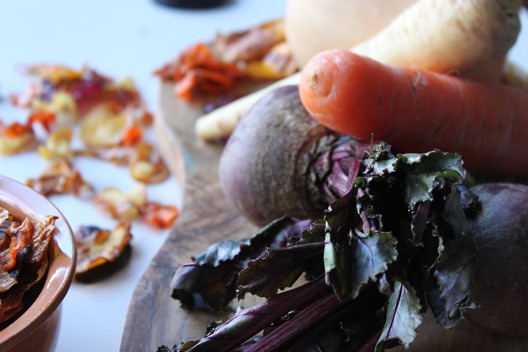
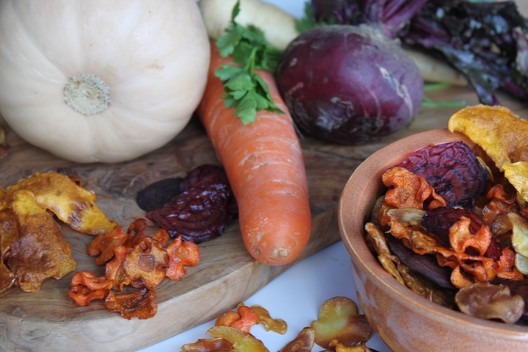
    Ingredients
    2 Large Parsnips
    2 Large carrots
    1/2 Butternut squash
    2 Beetroots
    Olive oil
    Salt

    • pre-heat oven to 170-180 C / 340-350 F
    • starting with the lightest colour vegetable – parsnip in this case, (your mandolin will get stained and if you start with the beets, then your other veg will get stained pink). Slice at an angle on the thinnest blade option, attempting to get the largest sized slices possible.
    • using paper towel, dry off as much moisture as possible from the slices. (this is a point I’ve found most recipes fail to mention)
    • place your dried slices in a bowl, pour in 1-2 tablespoons of olive oil, and 1/8 teaspoon salt, mix until all slices are fully coated.
    • lay slices out onto lined baking sheets and place in oven. they should take  7-10mins to cook, watch them carefully! They are prone to burning easily. They may need to be turned half-way through.
    • once ready, transfer the vegetable chips to a cooling rack.
    • repeat the above procedure for all over veggies. Once all baked, crisped and cooled – Eat and enjoy! 
    • store in an airtight container.

    These can be enjoyed as a side dish to some tasty meat or fish. Or treat yourself and your guests for an occasional snack with pre-dinner drinks.

    Go crazy and try this with any vegetable you like – I would suggest sticking to low water content veggies!

    Maybe whip up a tasty dip to serve along side these, like some baba ganouch or tzatziki?


  2. Double Chocolate Crisps (Havreflarn)

    February 5, 2012 by Tali

    errrrrr…… you said what now!?

    So, quite a few months ago – maybe even a year ago, Mo’s mom had bought a box of these strange looking biscuits/cookies.

    (Mo is my fiance for those that are interested)

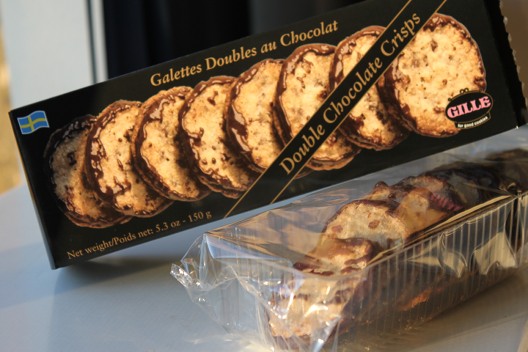
    The box called them ‘double chocolate crisps’. I was intrigued, but not overly excited.

    I don’t tend to get all that excited about biscuits and the like.

    One bite of these babies and I was hooked! I could have eaten the entire box! Thankfully I was in company, and totally lacking in chutzpah.

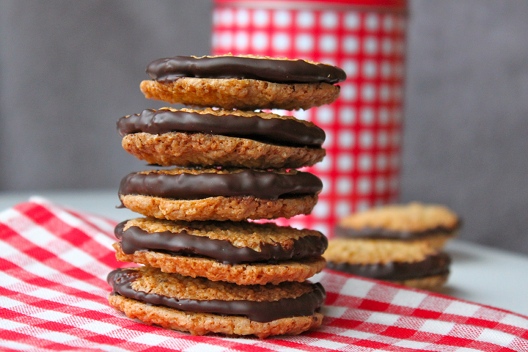
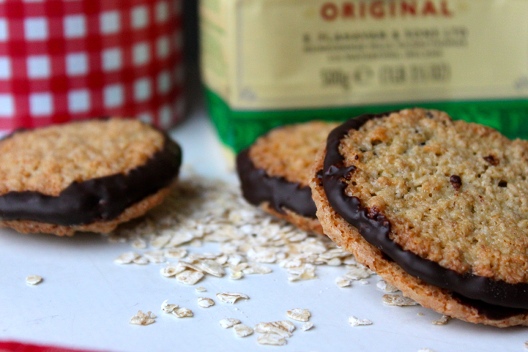
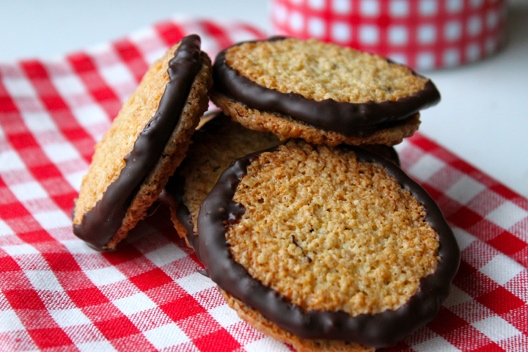
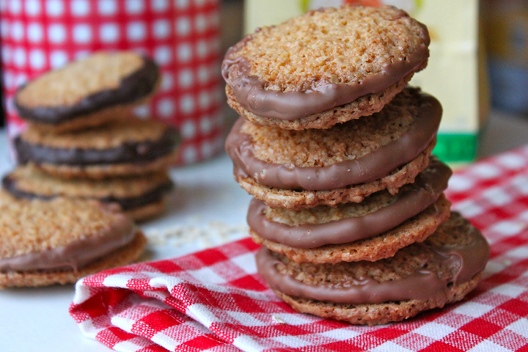
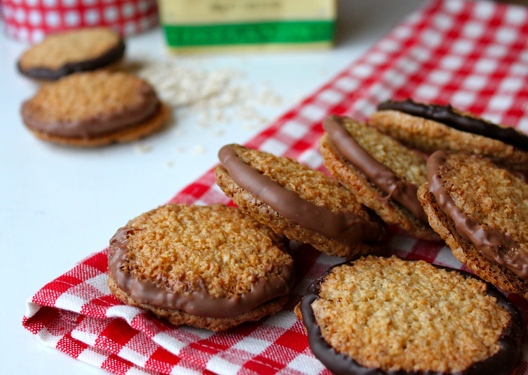
    They were incredibly crisp, totally delicious, oat-ey with and almost nutty flavour (although no nuts are mentioned in the recipe) and a generous amount of chocolate adhering the 2 halves together make them rich and totally decadent, the perfect partner to a cup of tea or coffee.

    It was on that day, I decided that these were my favourite of all store bought biscuit/cookie confections.

    Being the lover of baking that I am, I finally decided to take it upon myself to attempt to recreate these gems!

    I knew (from the packaging) that these were a Swedish biscuit. But I had no idea what the Swedes called these, or how to find a genuine recipe.

    I was largely helped along, by Clotilde of Chocolate & Zucchini who started off a search for a recipe (in 2004) by asking her readers if they knew of any. The contributions range from 2004 up until 2011 and there were a few different suggestions mentioned.

    What I found largely beneficial, was discovering the Swedish name for them, HAVREFLARN,  which allowed me to search further for an appropriate recipe.

    It comes as no surprise to me that there was a vast array of recipes online. Some were similar, some identical and some quite strange.

    My first attempt used one of the more simple recipes (including syrup in the mix). It produced a very tasty, but highly textured cookie whereas the boxed version has a lot less texture.

    I then decided to try processing the oats – with disastrous results! They turned out crumbly and dry.

    I then attempted an alternative recipe whose ingredients better matched up to those noted on the box – minus all the added preservatives…

    I decided to try a half recipe, see how it turned out, and in my rushed attempt to throw the mixture together,  I made a few little errors.

    Firstly, the whole recipe calls for 1 egg, instead of using half an egg I threw in a whole one, making the mix rather wet. Secondly, I also failed to use half the amount of sugar. I’ve never claimed to be a genius!

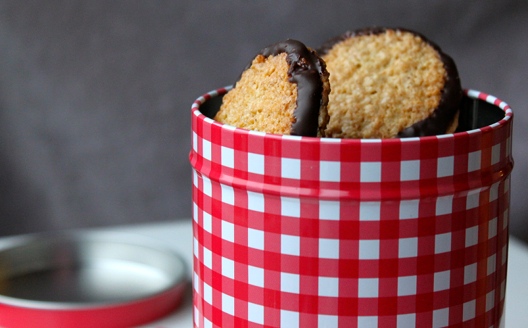
    I spooned a few dollops onto a baking tray anyway, and was quite pleased with my results! They didn’t look quite as refined as the boxed cookies, but they had a similar crunch, just not quite as nutty in flavour. Maybe the people over at GILLE toast their oats?

    So in some ways, I guess I developed my own recipe, and despite the doubling of sugar, they weren’t overly sweet. Woohoo!

    Double Chocolate Crisps / Havreflarn

    Makes: 10 double cookies   Time: 40-45 mins

    Ingredients

    50g Butter, melted
    120g Oats
    1 whole Egg
    130g Caster Sugar
    1 Tbsp Plain Flour
    1 tsp Baking Powder

    150g good quality dark chocolate

    Preheat oven to 175 C/ 347 F

    • Combine oats, sugar, egg and melted butter.
    • Sift in flour and baking powder, and mix through.
    • Take teaspoon sized amounts of mixture, roll into balls, and space generously onto a lined baking tray. (You should have approx 20 pieces to make 10 biscuits)
    • Wet the back of a teaspoon and gently flatten the balls, they will spread, but this should allow them to spread evenly, reducing a dome in the centre.
    • Place trays in preheated oven and bake for 7mins, then turn trays, and bake for a further 3-4mins.
    • They should be a nice even golden brown so you may have to adjust your timing to suit your oven.
    • Once ready, place onto a cooling rack.
    • Chop chocolate finely, and melt either over a bain marie, or very gently in the microwave.
    • Once biscuits are cool, and chocolate is melted, dip the underside of once, and then place another underside onto the chocolate, adhering the two together, leave to set. If you are impatient like me, stick them in the fridge to set.
    • Pour yourself a cold glass of milk, or pop the kettle on and make yourself a brew.
    • Eat and thoroughly enjoy!

    When I made this batch pictured, I was feeling a little experimental, and decided to try some with milk chocolate.

    They were good, but I think part of the charm of these biscuits is the intensity of the rich dark chocolate, paired with the warm nuttiness of the crisp, oat-ey biscuit.

    I feel like maybe I could have refined this recipe a little further, but I’ll leave that to another day.

    I’m pretty certain this is a recipe I’ll come back to!

    Hmm… Think I’ll go get myself that glass of milk – these things aren’t gonna eat themselves!