Lemon curd, its fruity sweetness and citrus tang make for a seriously delicious taste sensation.
I had never tasted lemon curd until I was the age of about 10. I remember thinking it was one of the most delicious yet unusual breakfast spreads I’d ever tasted. I was more familiar with spreads such as peanut butter, jam, honey, maybe even the occasional treat of chocolate spread. I never acquired a taste for marmalade, and the bitterness that comes with it. So tasting this unusual citrus spread, which was both sweet & sour culminating in a smooth and creamy mess was a totally new experience.
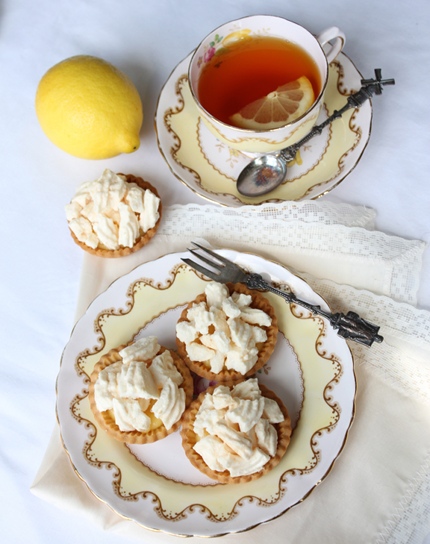
Little did I know that the versatility of lemon curd could stretch so far! I later discovered it works amazingly as a filling for cakes, or used within pie crusts or tart shells. Not just (generously) spread over toast.
You’re probably wondering how I could possibly have lived such a sheltered life, having never tasted a lemon meringue pie until I was at least 12 – I too wonder the same!
This may have had something to do with me making a bee-line for chocolate related desserts, but as my palette matured and developed, I began to appreciate the greater things in the culinary world.
The other day, my dad had some friends over to play cards, and the evening is often rounded off with teas and coffees along with some cake and savory snacks. I’m often roped into making something for this – which I find is always a great opportunity to try out a new recipe or improve on a old favourite.
This particular occasion, I decided that I wanted to make something that allowed me to explore some primal recipes, but make it user friendly towards the (non-primal) clientelle.
I don’t know what made me think of Lemon Meringue Pies – possible just a personal craving of mine, but I thought it would be great to make the filling primal – surely there is a recipe out there for primal friendly lemon curd!?
I did some research and discovered this great recipe which uses honey as the sweetener.
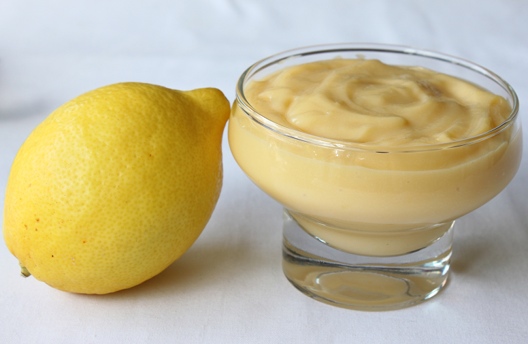
I followed the recipe and produced a delicious, smooth and silky lemon curd. As the linked recipe suggests, this is a Lemon Honey curd, and you really can taste the honey.
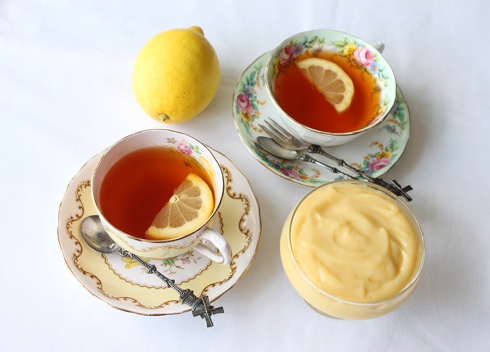
I’m very keen to attempt this recipe another time using less honey and if I can get hold of them, some Meyer lemons. They are a sweeter lemon (the taste of a lemon and tangerine combined) which I hope would help to round out the flavour of this curd with a reduced honey content. Unfortunately Meyer lemons are out of season… and from what I understand impossible to get hold of here in the UK anyway – therefore I’ll have to wait for the season and hit up every gourmet food market I can!
In the mean-time, I might consider investing in a plant… although I’ve not got a great track record with plants… but we shall see!
I doubled the recipe from Friday Delights – because I wanted to use the curd for both a batch of mini lemon meringue pies, and to have some left over.
Primal Lemon Curd
Makes: 3 cups Takes: 15 mins
Ingredients:
10 large Egg Yolks
2 large Eggs
1 1/3 cups freshly squeezed Lemon Juice (about 6-8 lemons)
2 teaspoons grated Lemon Zest
3/4 cup Honey
8 tablespoons Butter (unsalted) cubed
- start by zesting your lemons
- then warm up and roll the lemons between your hands to encourage the juices. Using a hand held or electric juicer, extract as much lemon juice outta them fruits as possible. You can always save any left overs for another recipe
- place ingredients except the butter into a bowl and combine, then place the bowl over a pot of simmering water – making sure the water doesn’t touch the bowl, and stir
- continue stirring for 10-12 mins while the mixture thickens. It will be slow at first, but will suddenly thicken at the 9-10 min mark. You’ll want to keep it moving and thickening for a little while longer. This will produce a sturdier product
- once you have reached your desired consistency, remove the bowl from the heat
- add the cubed butter and keep stirring to fully incorporate and cool the mixture
- once the butter has been well incorporated, transfer into a shallow dish and cover the surface with clingfilm to avoid a crust forming
- let the lemon curd cool down a bit before placing in the fridge until you’re ready to use it
For my dad’s card evening, I made some (non-primal) miniature lemon meringue pies. I made a simple pate sucre, which I rolled to 2-3mm thick and then cut into circles, which I placed into a muffin pan making small tart shells.

Pate Sucre
Makes: 20 mini tart shells Takes: 5 mins + 30mins chilling time
Ingredients:
250g Soft Flour
1 pinch Salt
125g Butter (unsalted)
65g Caster Sugar
1 Medium-Large Egg
1-2 drops Vanilla Extract
- begin by sifting your flour and salt together, set aside
- cream together your butter and sugar
- gently beat your egg to break it up, then add bit-by-bit to your butter and sugar mixing well between each addition
- once well combined, add vanilla extract
- mix in sifted flour and salt, until the mixture JUST comes together, bring into a ball and flatten
- cover in cling film and leave it to rest in the fridge for 30mins or more (the longer the better)
I then placed a cupcake liner on top of each pastry disc and filled with baking beans; after blind baking for 10mins I removed the beans and liners, and then baked them for a further 5-6mins until they were a nice golden brown.
I left these to cool.
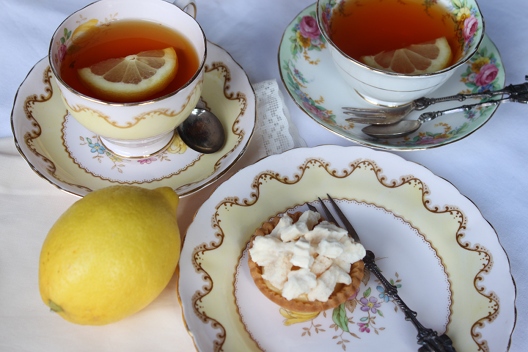
Once I was ready to assemble the tarts, I filled the mini tart shells with 1 1/2 to 2 teaspoons of lemon curd, and then topped them off with an Italian meringue which I browned with a blow torch.
Italian meringue
Ingredients:
60g egg whites
120g caster sugar
water
- place the egg whites in a stand mixer, or bowl if using a hang whisk
- with the sugar in a small saucepan, JUST cover the surface with water and place on the stove at medium heat
- once the sugar has dissolved turn the heat up and begin to whisk your egg whites
- once the sugar syrup reaches around 120C/248F remove from the heat
- reduce the speed of your mixer and slowly and steadily, pour your sugar syrup into you egg whites along the side of the bowl. Be careful that stuff is HOT
- once all the sugar has been added, turn up the speed of your mixer to max, and continue to mix until your meringue drops in temperature. you should have a sturdy and glossy Italian meringue
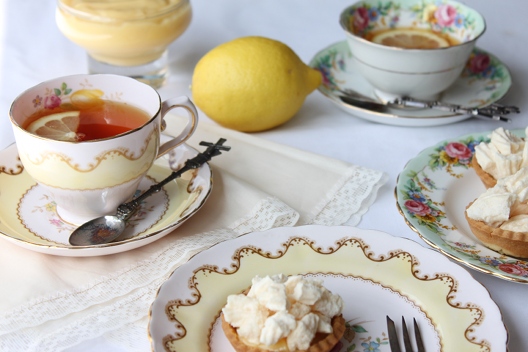
Transfer this to a piping bag, with a round or star-tipped nozzle. Pipe meringue onto your tartlets and finish by using a blow torch to burn the top or place under the grill/broiler for a few minutes.
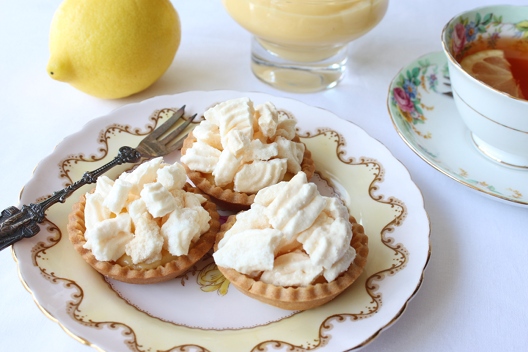
(unfortunately I wasn’t able to photograph the ones I made with the fresh Italian meringue, but I saved a few shells, baked off the surplus meringue, filled the tarts with left-over curd and then topped them with crushed baked meringue)
Even though these were a quick fix solution because I couldn’t be bothered didn’t have time to make a small batch of Italian meringue – I feel they are still appealing, and add something in the texture department. The buttery crisp bite of the tart shell, with the sweet but tangy lemon curd topped with sweet crunchy meringue. YUM – E!


